A Brief Introduction to Eyeshadow Pencils
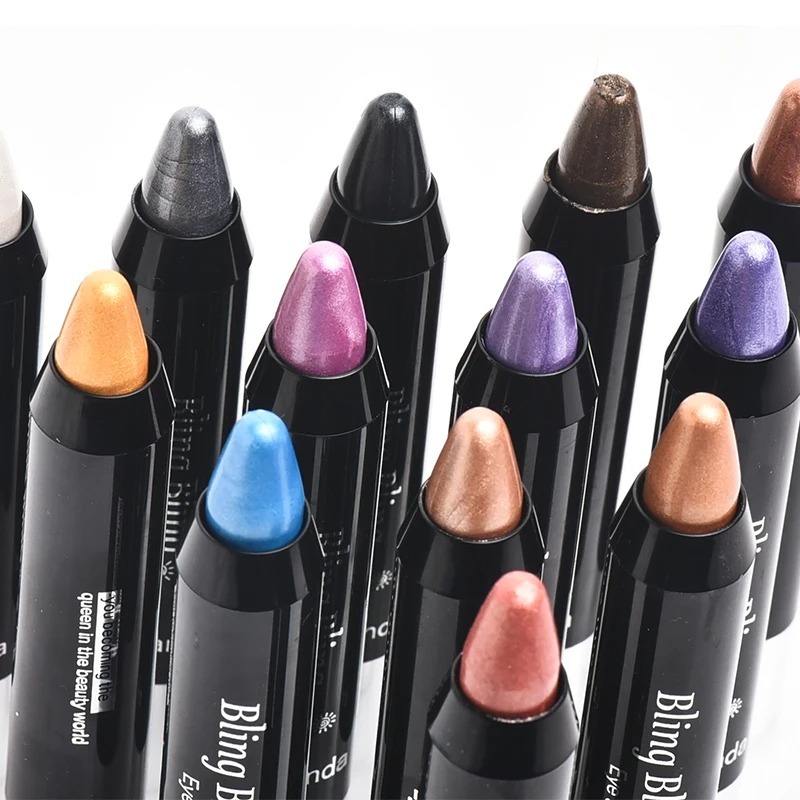
Eyeshadow pencil are versatile makeup tools. They allow precise application and come in various colors and textures. These pencils can act as liners, create smoky looks, or fill the whole eyelid with color. Unlike powders, eyeshadow pencils have a creamy texture which makes them blendable but also long-wearing. Suitable for makeup enthusiasts and professionals, they simplify the eye makeup process.
Using eyeshadow pencils, you can quickly enhance your eyes for day or evening looks. These pencils are excellent for on-the-go applications, and their convenience can’t be overstated. Eyeshadow pencils offer a practical approach to achieving a range of styles—from simple, natural enhancements to bold, dramatic eyes. The key is learning how to apply and blend them correctly. Armed with the right technique, anyone can create eye-catching looks with these dynamic tools. Choosing an eyeshadow pencil for its ease of use and versatility is a smart addition to any makeup routine.
Selecting the Right Eyeshadow Pencil for Your Eye Color and Skin Tone
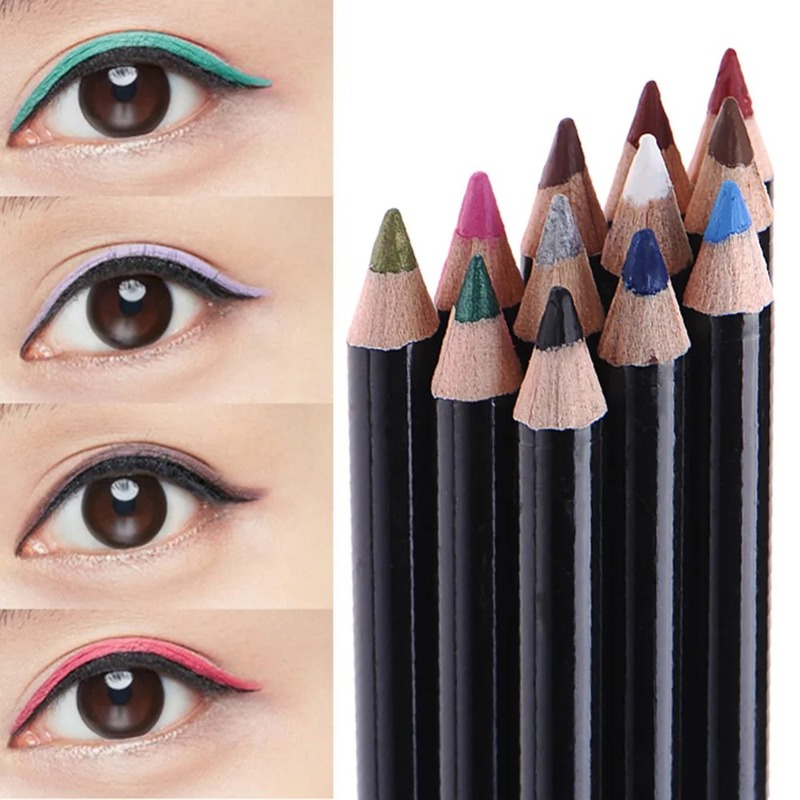
Choosing the correct eyeshadow pencil can accentuate your eyes and complement your complexion. As simple as it may seem, selecting the appropriate shade can have a profound impact. To start, consider your eye color. Browns and golds bring warmth to blue eyes, while oranges can make them pop. For green eyes, purples and pinks highlight their natural brightness. Brown eyes can wear almost any color, but blues and purples can add a striking contrast. Hazel eyes come alive with greens and golds that reflect their varied tones.
Next, your skin tone plays a pivotal role. If you have a cool skin tone, opt for eyeshadow pencils in cool shades like blues, greens, and purples. Warm skin tones are flattered by warm colors such as coppers, bronzes, and burgundies. For those with a neutral skin tone, most colors will complement your complexion, but it’s still best to test them out personally.
Don’t forget to consider your skin’s undertone as well. Pink or blue undertones pair well with cool-colored eyeshadow pencils. Yellow and peach undertones are suited to warmer shades. For olive undertones, earthy tones like greens, browns, and oranges are ideal.
With the right eyeshadow pencil, you’ll not only enhance your eye color but also ensure that your overall look is harmonious and balanced. Remember to experiment and have fun finding the shades that work best for you.
Essential Tools for Applying Eyeshadow Pencil
To apply an eyeshadow pencil flawlessly, you need the right tools. Here’s what you should have in your makeup kit:
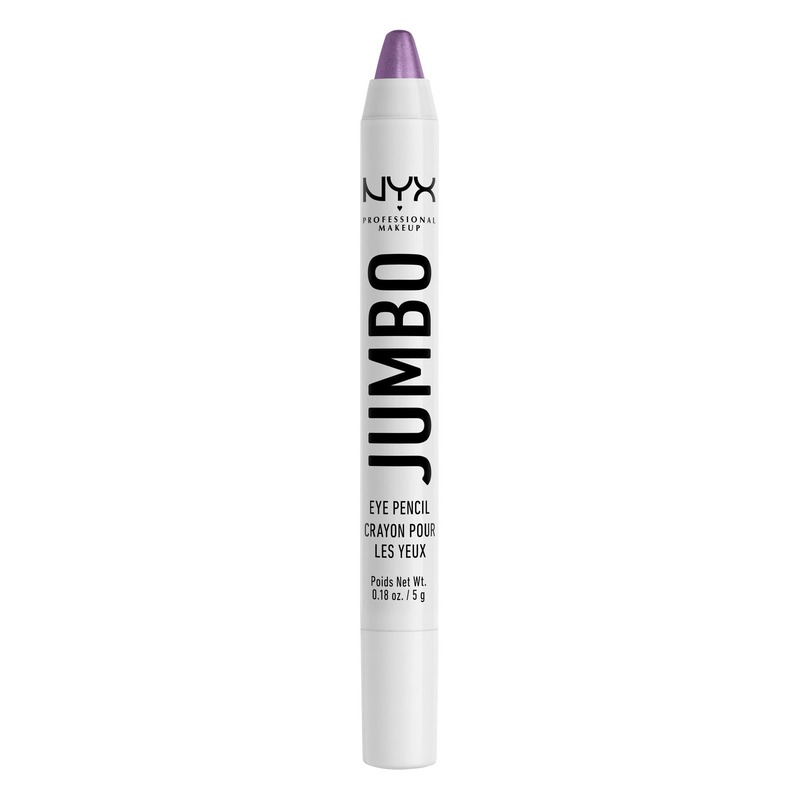
- Eyeshadow Pencil: Choose one that’s creamy and pigmented for easy application.
- Sharpener: A good sharpener keeps your eyeshadow pencil precise for detailed work.
- Smudge Brush: This helps to blend the eyeshadow smoothly across your lid.
- Blending Brush: For softening edges, a fluffy blending brush is essential.
- Clean-up Tool: Have some Q-tips or a small, flat brush handy for quick touch-ups.
- Primer: An eyelid primer prepares the skin and ensures your eyeshadow stays put.
With these tools, you’re set to achieve a variety of eyeshadow looks with your pencil. The sharpener ensures your pencil tip is always ready for fine lines. Meanwhile, the brushes let you blur and merge colors for a professional finish. A primer gives a clean base and enhances the pencil’s staying power. Keep these tools clean and in good condition for best results every time. Eyeshadow pencil is all about precision and ease, so invest in quality tools that will help you apply your makeup like a pro.
Step-by-Step Guide to Applying Eyeshadow Pencil
To master the art of eyeshadow pencil application, follow this simple step-by-step guide:
- Prepare Your Eyelids: Start with clean, dry lids. Apply primer to create a smooth canvas.
- Sharpen the Pencil: Ensure your eyeshadow pencil is sharp for precise lines and easier application.
- Draw the Base: Trace a line along your upper lash line. Thicken it for more drama if desired.
- Blend Upward: Use your smudge brush to blend the line upwards on your lid.
- Add Depth: For dimension, apply a darker shade in your crease and blend with a blending brush.
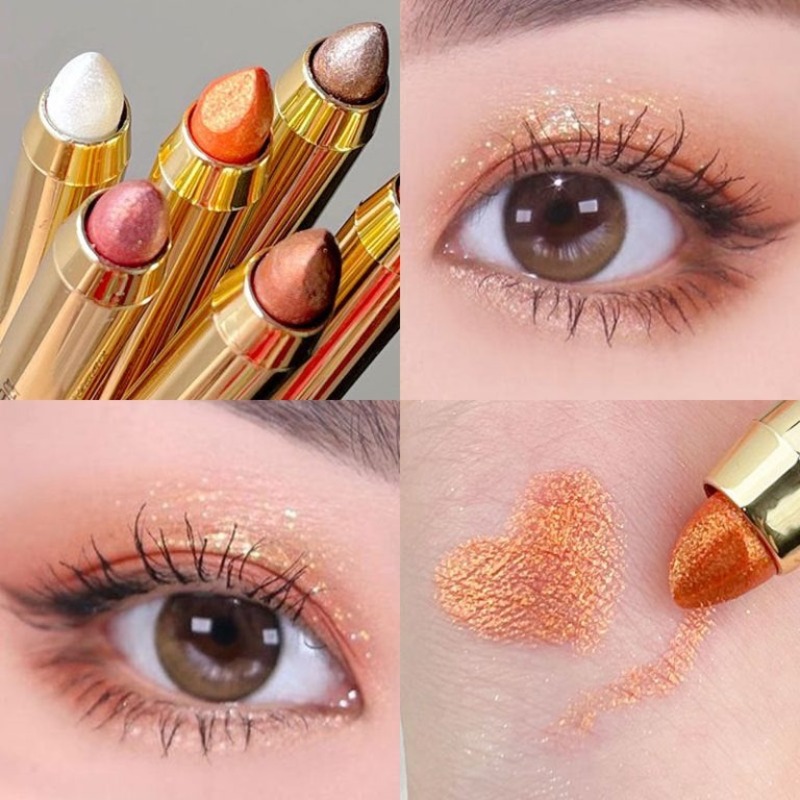
- Highlight: Apply a lighter shade in the inner corners and under your brow bone.
- Final Touches: Blend any harsh lines. Use Q-tips for clean-up if needed.
- Apply Lower Lash Line: Optionally, apply the same or contrasting color along the lower lash line.
Following these steps with the eyeshadow pencil will create a flawless look. Remember, practice makes perfect. As you use these guidelines often, you will find the application becoming quicker and more intuitive.
Blending Techniques for a Seamless Look
Blending is key for a flawless eyeshadow pencil look. To start, apply a light hand. Use a smudge brush and gently blend the eyeshadow in a back-and-forth motion. Focus on the area where the color is most intense. This helps soften harsh lines and create a gradient effect. With a blending brush, sweep the color across your eyelid. Move the brush in small, circular motions for even coverage. Repeat the process until there are no visible lines between different shades.
Try blending shades together for a custom color. Start with a darker color on the outer corner of the eye. Then, layer a lighter shade towards the inner corner. Blend where they meet for a smooth transition. For your crease, use windshield wiper motions. This method ensures that the crease color diffuses well.
Highlight the inner corner of your eyes and the brow bone. Use a clean brush for this step to keep colors true. Touch up the edges of your look with a Q-tip. Dab lightly to correct any smudges or over-blending. Practice these techniques regularly. With patience, your blending skills will improve, and your eyeshadow pencil looks will come together seamlessly.
Fixing Common Eyeshadow Pencil Mistakes
Even with the right tools and techniques, mistakes can happen when applying eyeshadow pencil. Here are some common issues and how to solve them:
- Smudging: If your eyeshadow pencil smudges, gently wipe the error with a Q-tip. Then, reapply a small amount of eyeshadow pencil and blend carefully.
- Too Harsh Lines: For lines that look too harsh, use your smudge or blending brush. Soften edges by blending the color outward until it appears smooth.
- Uneven Color: When your eyeshadow pencil color looks patchy, add more pigment. Layer the color until it is even. Then, blend the edges to prevent any harsh lines.
- Fading Color: In case the color fades, apply an extra layer of eyeshadow pencil. To boost staying power, use a primer before the pencil and a setting spray after your makeup is complete.
- Wrong Shade: If you’ve chosen a shade that doesn’t flatter, don’t fret. Layer another shade over it to adjust the color. Blending two shades can create a new, suitable color.
Remember, fixing mistakes usually requires a bit of patience. Keep a steady hand, and don’t rush. With these tips, you can correct any slip-ups and perfect your eyeshadow pencil application.
Eyeshadow Pencil Tips for Different Eye Shapes
Each eye shape requires specific techniques for the best effect with an eyeshadow pencil. Here’s how to tailor your approach:
- Round Eyes: To elongate round eyes, apply the eyeshadow pencil along the upper lash line and extend it beyond the outer corner. This creates a more almond-like shape.
- Almond Eyes: You’re in luck—most styles work on almond eyes. For an enhancing effect, line the top and bottom lashes with a thin stroke. Smudge it slightly for soft definition.
- Hooded Eyes: Use light shades on the lid and darker shades above the natural crease. This can make your lid appear larger.
- Deep-Set Eyes: Brighten up the look by applying light shades on the lid. Define the crease with a darker shade but keep it light to avoid a shadowy effect.
- Monolid Eyes: Create dimension with gradient coloring. Start with a darker color near the lashes and blend to a lighter shade as you go upward.
- Down-Turned Eyes: Lift the outer corners with a slightly upward wing. Focus the darker shades on the outer edges to counteract the downward slope.
Remember to blend well. Blending softens any harsh lines and merges the colors smoothly. With these tips and your chosen eyeshadow pencil, you can enhance any eye shape for a flattering, polished look.
Long-Lasting Wear: Setting Your Eyeshadow Pencil
To ensure your eyeshadow pencil stays put all day, consider these tips:
- Start with primer: This is your base for long-lasting wear. Apply it over clean lids before your eyeshadow pencil.
- Layer wisely: After applying the eyeshadow pencil, add a thin layer of the same shade in powder form. This sets the cream.
- Blot excess: If there’s too much cream, blot gently with a tissue. This avoids creasing.
- Seal with spray: A setting spray can lock in your look. Mist it over your eyes to finish.
- Avoid touching: Keep fingers away from your eyes. This prevents smudging and fading.
Some eyeshadow pencils are waterproof, which boosts their staying power. If you have one, use it. Remember, the right application techniques are just as important. When you use a light hand and build color gradually, your makeup is more likely to stay flawless. With these methods, you can count on your eyeshadow pencil to last from morning to night. Keep practicing, and you will see how each step contributes to durability and beauty.