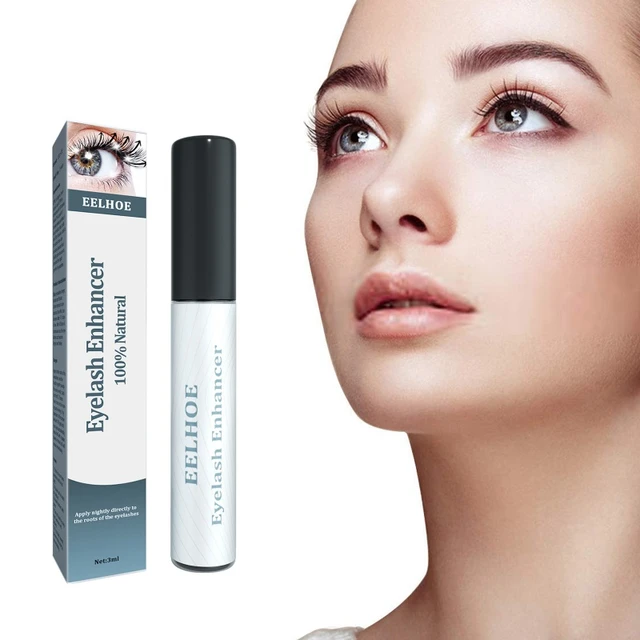
 Introduction:
Mascara is a popular cosmetic product that enhances the appearance of eyelashes, adding length, volume, and definition. While commercial mascaras are readily available, some individuals may prefer to create their own homemade mascara using natural ingredients. In this comprehensive guide, we will explore the concept of homemade mascara, including the benefits, ingredients, and step-by-step instructions for making and using it. By understanding the basics of homemade mascara, you can create a personalized and natural alternative to commercial options.
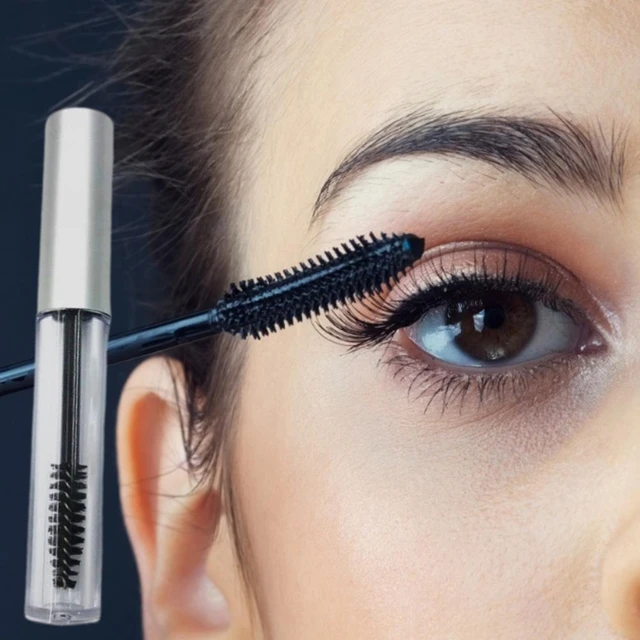 Benefits of Homemade Mascara
Natural Ingredients:
Homemade mascara allows you to control the ingredients used, avoiding potentially harmful chemicals found in commercial products.
Using natural ingredients can be gentler on the lashes and the delicate eye area.
Customized Formulas:
Homemade mascara offers the opportunity to customize the formula to meet specific preferences and needs.
You can experiment with different ingredients and proportions to achieve desired effects, such as lengthening, volumizing, or nourishing properties.
Budget-Friendly:
Making your own mascara can be cost-effective, as many of the ingredients are readily available and affordable.
It allows you to save money compared to purchasing commercial mascaras repeatedly.
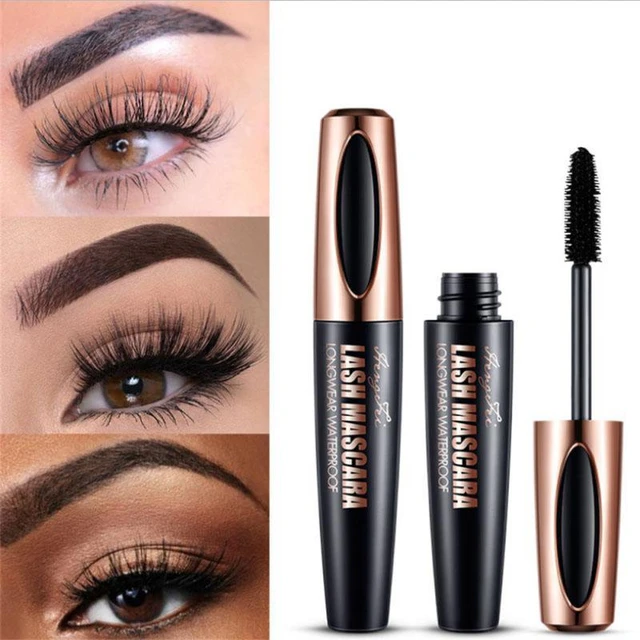 Ingredients for Homemade Mascara
Base Ingredients:
Activated charcoal, black iron oxide, or cocoa powder can be used as the base for achieving the desired dark color.
Beeswax or plant-based waxes like carnauba wax provide texture and hold to the mascara.
Oils and Butters:
Various oils and butters, such as coconut oil, almond oil, or shea butter, can be used to moisturize and nourish the lashes.
These ingredients also contribute to a smoother application and help prevent clumping.
Thickeners and Fillers:
Natural thickeners like aloe vera gel or vegetable glycerin can be added to adjust the consistency and improve application.
Homemade Mascara Recipe and Application
Recipe:
Melt together 1 teaspoon of beeswax, 2 teaspoons of coconut oil, and 1-2 capsules of activated charcoal or desired colorant.
Stir in 1-2 drops of vitamin E oil for preservation.
Adjust the consistency by adding a small amount of aloe vera gel or vegetable glycerin.
Store the mixture in a clean, airtight container.
Application:
Use a clean, disposable mascara wand or a small brush to apply the homemade mascara to the lashes.
Start at the base of the lashes and gently wiggle the wand or brush back and forth to coat the lashes evenly.
Apply additional coats as desired for more volume or length.
 Tips for Using Homemade Mascara
Sanitation:
Ensure all equipment and containers used in the homemade mascara preparation are clean and sterilized.
This helps prevent bacterial contamination and extends the shelf life of the product.
Patch Test:
Before applying homemade mascara to your lashes, perform a patch test on a small area of your skin to check for potential allergies or reactions.
Storage:
Store homemade mascara in a cool, dry place away from direct sunlight or moisture.
Use airtight containers to prevent drying out or contamination.
Shelf Life:
Homemade mascara typically has a shorter shelf life than commercial mascaras.
Discard any remaining mascara after 3-6 months or if you notice changes in texture, smell, or consistency.
The potential for homemade mascara to cause allergies or sensitivities can vary depending on the ingredients used and individual sensitivities. Homemade mascara recipes often involve using natural ingredients like activated charcoal, beeswax, coconut oil, or aloe vera gel. While these ingredients are generally considered safe, it’s still possible for some individuals to have allergic reactions or sensitivities to them.
It’s important to note that homemade cosmetics lack the strict quality control and testing that commercial products undergo. This means that the risk of contamination, improper formulation, or ingredient interactions may be higher with homemade mascara. Unsterilized equipment or improper handling during preparation can also introduce bacteria or other contaminants that can cause adverse reactions.
If you have a history of allergies or sensitive skin, it’s advisable to exercise caution when using homemade cosmetics, including mascara. It’s recommended to perform a patch test on a small area of skin, such as the inside of your wrist, and wait for at least 24 hours to see if any irritation or allergic reactions occur. If you experience any adverse reactions, discontinue use immediately.
If you’re uncertain about homemade mascara’s potential effects or if you have specific concerns, it’s best to consult with a dermatologist or allergist for professional guidance and advice. They can help evaluate your individual situation and provide appropriate recommendations for your specific needs and sensitivities.
How often does it take to replace homemade mascara?
Since homemade mascara lacks preservatives and may have shorter shelf life compared to commercially produced mascaras, it is generally recommended to replace homemade mascara every 2-3 months. This timeframe helps minimize the risk of bacterial growth or contamination that can occur over time.
The absence of preservatives makes homemade mascara more susceptible to spoilage, especially if exposed to air, moisture, or unclean tools during application. Additionally, natural ingredients used in homemade mascaras may have a shorter shelf life compared to synthetic ingredients found in commercial products.
To ensure the safety and effectiveness of homemade mascara, it’s important to store it properly in a cool, dry place away from direct sunlight. Regularly inspect the mascara for any changes in odor, texture, or appearance. If you notice any signs of spoilage, such as a foul smell, clumping, or separation, it’s best to discard the mascara and make a fresh batch.
Keep in mind that these guidelines are general recommendations, and the actual shelf life of homemade mascara can vary depending on the specific ingredients, preparation methods, and storage conditions. If you have any concerns or uncertainties, it’s advisable to consult with a dermatologist or cosmetic professional for personalized guidance.
 Conclusion:
Homemade mascara offers a natural and customizable alternative to commercial mascaras. By following the guidelines and recipes outlined in this comprehensive guide, you can create your own personalized mascara, free from potentially harmful chemicals. Remember to prioritize hygiene, perform patch tests, and store the homemade mascara properly to ensure its effectiveness and longevity. Experiment with different ingredients and proportions to find the perfect formula that suits your needs and preferences. With homemade mascara, you can enhance the beauty of your lashes while embracing natural and nourishing ingredients.